A crucial aspect of pool table maintenance is removing and replacing pool table cushions. (See also how to know when they need to be replaced.)
The key to this process is to stay organized and methodical. So, take care, follow these steps, and your pool table will be back in top shape in no time.
Removing and Replacing Pool Table Cushions – A Step-by-Step Guide
Step 1: Gather Your Tools and Materials
Before you start, make sure you have all the necessary tools and materials at hand. You’ll need:
- Screwdriver (preferably both flathead and Phillips)
- Staple remover
- Measuring tape
- New cushions
- Adhesive (if required)
- Replacement felt (if necessary)
- Marker and notepad
Step 2: Prepare Your Work Area
Clear a spacious work area around your pool table. Ensure you have enough room to maneuver and place your tools and removed parts.
Lay out a soft blanket or cloth to protect the felt and other delicate parts from damage.
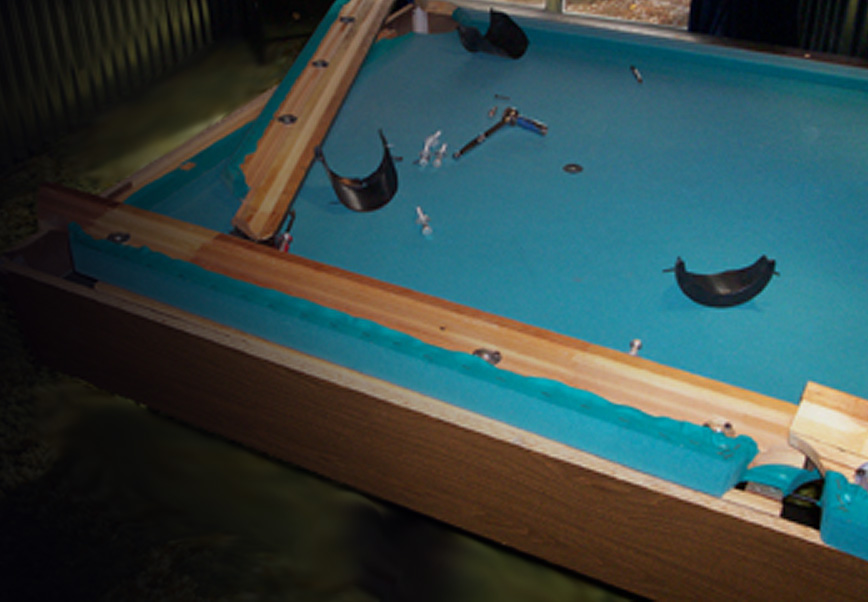
Step 3: Remove the Rails
Start by removing the rails. Use your screwdriver to carefully unscrew and remove the bolts holding the rails in place.
Keep all screws and bolts in a safe place, such as a labeled container or bag. Gently lift the rails off the table and set them aside.
Step 4: Remove the Existing Cushions
With the rails removed, you can now access the cushions.
Use a staple remover to carefully take out the staples securing the cushions to the rails. Be cautious not to damage the rails or the felt.
Once the staples are removed, gently peel off the old cushions.
Step 5: Measure and Cut New Cushions
Before you discard the old cushions, use them as a template to measure and cut your new cushions.
Lay the old cushion over the new one, and use a marker to outline the exact size and shape. Cut the new cushion carefully to match the old one.
Accuracy is crucial to ensure a snug fit.
Step 6: Attach the New Cushions
Apply adhesive (if your cushion type requires it) to the back of the new cushions.
Carefully align the new cushion with the rail, ensuring it sits evenly. Press firmly to secure it in place.
If using staples, re-staple the cushion to the rail, ensuring the staples are evenly spaced and secure.
Step 7: Reassemble the Rails
Once the new cushions are attached, it’s time to reassemble the rails.
Carefully position each rail back onto the pool table, aligning the bolt holes. Secure the rails by tightening the screws and bolts you set aside earlier.
Ensure everything is tightened properly, but be cautious not to over-tighten and damage the components.
Step 8: Test and Adjust
With the rails and new cushions in place, give your pool table a test run.
Roll a few balls to ensure the cushions respond correctly and provide the expected bounce.
If you notice any irregularities, make slight adjustments as needed.
Final Tips:
- Stay Organized: Keep track of all screws, bolts, and components during disassembly and reassembly.
- Take Your Time: Rushing through the process can lead to mistakes. Patience ensures accuracy and a smoother overall experience.
- Double-Check Measurements: Ensure all measurements are precise when cutting new cushions to avoid issues during reassembly.
By following these steps, you’ll ensure your pool table cushions are replaced correctly, maintaining the quality of your game.
Remember, staying organized and methodical is the key to a successful cushion replacement.
Happy playing!