Pool Table Cushions… Time to take things apart!
The key to removing pool table cushions is to stay organized and methodical so everything will go back together smoothly. Doing any of this process haphazardly or getting ahead of yourself will not only cause you frustration later but you might have to start over! It could also cost you more money if you have to purchase something twice! So, take care and let’s go through this step by step.

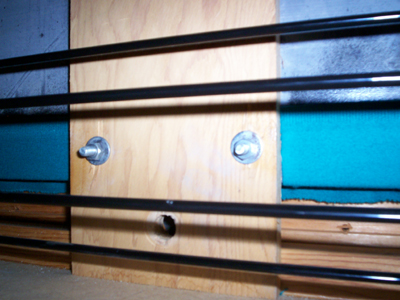
A quick look at the underside of a Pool Table (for reference)… Before we get into removing pool table cushions, let’s take a look at at the underside of the pool table where the different bolts go through the slate, and secure them. (The bolt missing is for the rail that has already been removed. There are three bolts per pool table cushion.) Note: At this point, there’s no need to remove the bolts that are holding the slate. Let’s get started…

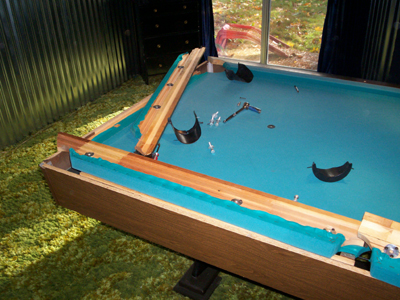
Step One — > Removing Pool Table Cushions… In this photo, you can see that Allen is removing the pool table cushions to recover them. They are laid in place so that they don’t get mixed up.

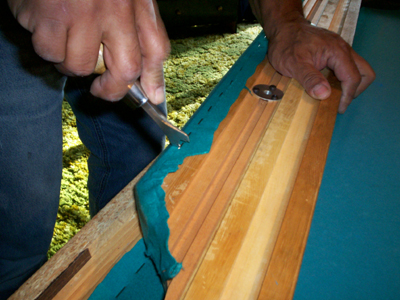
Step 2 – Removing staples holding the old felt in place… Here you can see that Allen is using his handy-dandy staple remover to pull the staples and remove the old felt after removing the pool table cushions. This is a pretty tedious task, but use care should so the staples don’t end up all over the floor where someone’s feet might find them later.

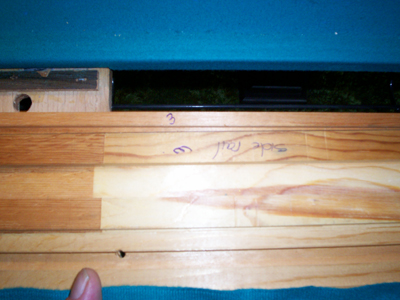
Step 3 – Marking the Rails… This is the time to mark each of the rails so you will know exactly where each one goes when the time comes. It is be very helpful when you are ready to reassemble the pool table.
