Gravity Ball Return Problems?
Here’s a step-by-step guide on how to maintain and/or fix gravity ball return rails to ensure smooth, consistent performance.
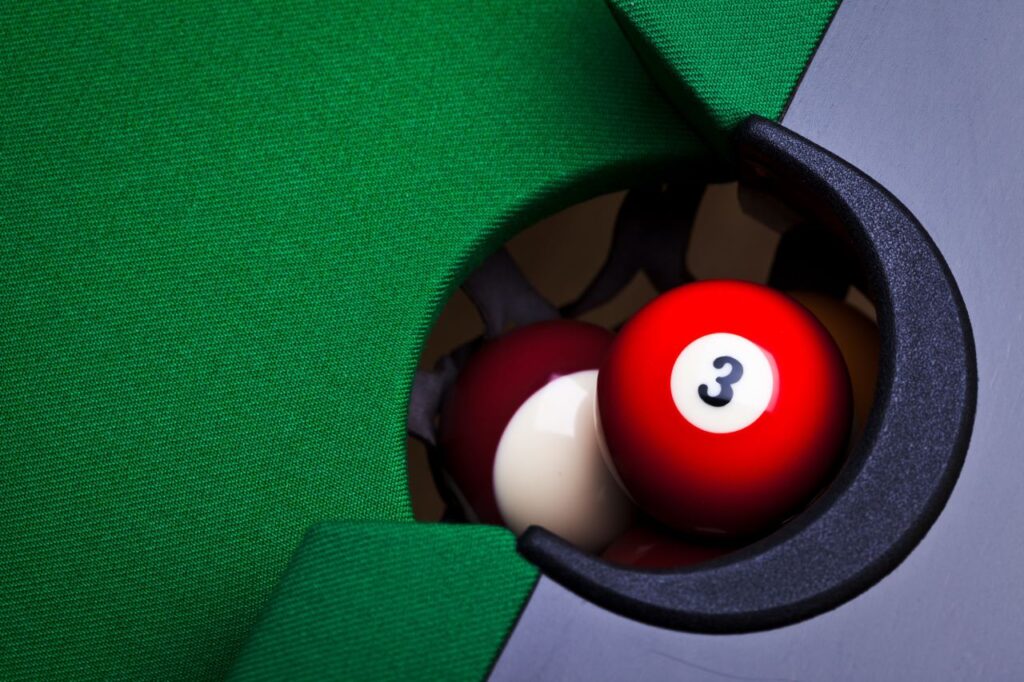
Gravity ball return systems are a clever feature in many pool tables, designed to automatically return balls to a collection point after they’re pocketed. However, it’s common for balls to occasionally get stuck or fail to return properly.
To that end, let’s fix the problem…
Gravity Ball Return Maintenance
Step 1: Inspect the Rails
Begin by visually inspecting the entire length of the ball return rails. Look for any obvious signs of damage such as dents, bends, or obstructions that might be causing the balls to get stuck. Use a flashlight to check the harder-to-see areas.
Step 2: Clean the Rails
Dirt, dust, and chalk residue can build up inside the rails, adding friction that prevents the balls from rolling smoothly. Cleaning the rails regularly is crucial:
- Remove debris: Use a vacuum cleaner with a hose attachment to remove loose debris.
- Wipe down the rails: Using a damp cloth, wipe down the inside of the rails. Avoid overly wet cloths that might leave moisture behind.
- Dry thoroughly: Ensure all components are completely dry before reassembling the table.
Step 3: Adjust the Rail Alignment
Misalignment can cause the balls to travel slower or get stuck. Check the alignment of the rails and make sure they are parallel and straight:
- Tighten fittings: Loose screws or brackets can shift the alignment. Tighten any loose components along the rail system. Or adjust the angle appropriately.
- Level the table: Sometimes, the entire table may need re-leveling to ensure the gravity-fed system works optimally.
Step 4: Lubricate the Rails
Applying a dry lubricant can help the balls roll more smoothly. Avoid oil-based lubricants as they can attract more dirt:
- Select a suitable lubricant: Use a graphite-based lubricant, which is ideal for these applications.
- Apply sparingly: Lightly dust the lubricant along the rails, ensuring an even coverage without clumping.
Step 5: Test the System
Once everything is cleaned, aligned, and lubricated, place a few balls in each pocket to test the return system. They should roll smoothly to the collection area without interruption.
Maintenance Tips
Additionally, to keep your ball return system in top shape, consider the following maintenance tips:
- Regular checks: Perform a routine check and cleaning every few months or more frequently if the table sees a lot of use.
- Replace worn parts: Over time, parts of the ball return system may wear out. Replace any parts that show significant wear or damage.
- Listen for noise: Unusual noises during ball return can indicate a problem. Investigate any strange sounds immediately.
Conclusion
Without doubt, maintaining the gravity ball return rails is not only about fixing problems as they arise but also about preventing them through regular care.
With these steps, you can ensure that your pool table provides endless fun and hassle-free play for years to come.
Gravity Ball Return Fixes
Step-by-Step Guide to Adjusting the Rail Angles
Adjusting the angle of the ball return rails on your pool table is a crucial step to ensure that balls can roll smoothly back to the collection area without getting stuck.
Here’s how to effectively adjust the angle of the rails:
Tools You May Need
- Wrench or screwdriver (depending on the type of fittings)
- Level
- Shims or wedges
Step 1: Assess the Current Angle
First, use a level to determine if the rails are angled properly toward the ball return box. The rails should have a slight decline towards the collection area to utilize gravity effectively.
Step 2: Access the Rails
Your next step would be to remove any panels or covers if necessary to access the full length of the return rails. This might require unscrewing parts of the table or lifting the felt slightly, depending on your pool table’s design.
Step 3: Loosen Fittings
Using a wrench or screwdriver, slightly loosen the fittings or brackets that hold the rails in place. To emphasize, you only need to loosen them enough to allow for adjustments, not remove them entirely.
Step 4: Adjust the Angle
To increase the decline towards the return box:
- Raise the end of the rail nearest the pockets: You can place small shims or wedges under the rail at points near the pockets to raise it slightly, which increases the downward slope towards the collection area.
To decrease the decline:
- Lower the end near the pockets or raise the end near the return box: Adjust by either removing or adjusting the existing shims, or by adding shims near the collection end to elevate it slightly.
Step 5: Re-check with Level
After making adjustments, use the level again to check the new angle. Ensure there is a consistent, slight decline along the entire length of the rail leading towards the collection area.
Step 6: Tighten and Test
Once the desired angle is achieved, re-tighten the fittings to secure the rails in their new position. Then, test the system by rolling balls down the rails from various pockets to ensure they travel smoothly.
Step 7: Make Fine Adjustments
If balls still get stuck or the roll isn’t smooth, you may need to make further fine adjustments. To that end, a very slight alteration can make a significant difference in performance.
Conclusion
What’s more, adjusting the angle of the ball return rails is a delicate process that might require multiple attempts to perfect. However, ensuring the correct angle is essential for the effective and reliable operation of the ball return system.