Cutting pool table cushions.
I hope these step by step instructions have been clear so far. After this next step of carefully cutting pool table cushions, we can accurately move forward, glue them in place and recover them. It gets a lot easier after this!
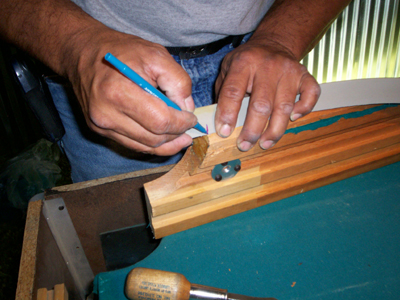
Step 7: In this picture, Allen starts to show you how to start cutting pool table cushions by placing them on the edge of the rail first to get them ready to cut to the proper size. Then he marks the angle of the cut to be made by sighting down the edge of the cushion, and the curve of the pocket before attaching it to the pool table rail.
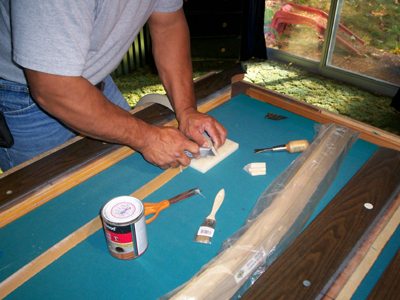
Step 8: Then he takes a SHARP, NEW blade in a utility knife, and cuts the first end. The process is repeated on the other end, by placing the new pool table cushion on the edge of the pool table rail, making sure that the first corner is lined up perfectly, and then marking the second end of the pool table rail cushion. If you have difficulty keeping the new cushion in place, you can always use a couple pieces of tape to assist you.
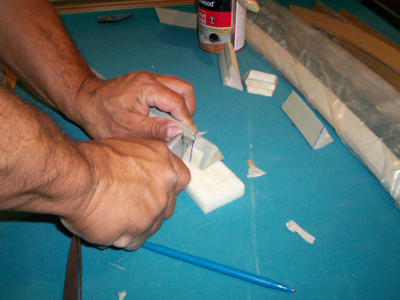
Important Notes: Carefully start cutting pool table cushions a little bit at a time. Similar to scoring it first, and then slowly working your way through. Cut one side part way through first, and then flip it around, and do the same to the other side until you actually cut all the way through. Don’t worry too much if the cut face is a little irregular, but do your best. The most important part is the corner where the balls will hit the pocket. You will be attaching the pocket protector later, and it will cover any minor irregularities in the cut edge, as well as square up the the actual corner of the pool table cushion.