A Step-by-Step Guide on How to Level Your Pool Table
Playing pool is a fun and skillful game that requires a good eye, steady hand, and of course, a perfectly level table.
An uneven pool table can drastically affect the game, causing balls to roll in unintended directions. Therefore, it’s essential to ensure your pool table is perfectly level for a fair and enjoyable game.
Here’s how to level your pool table.
Step 1: Gather the Necessary Tools
Before you start, make sure you have the right tools. You will need:
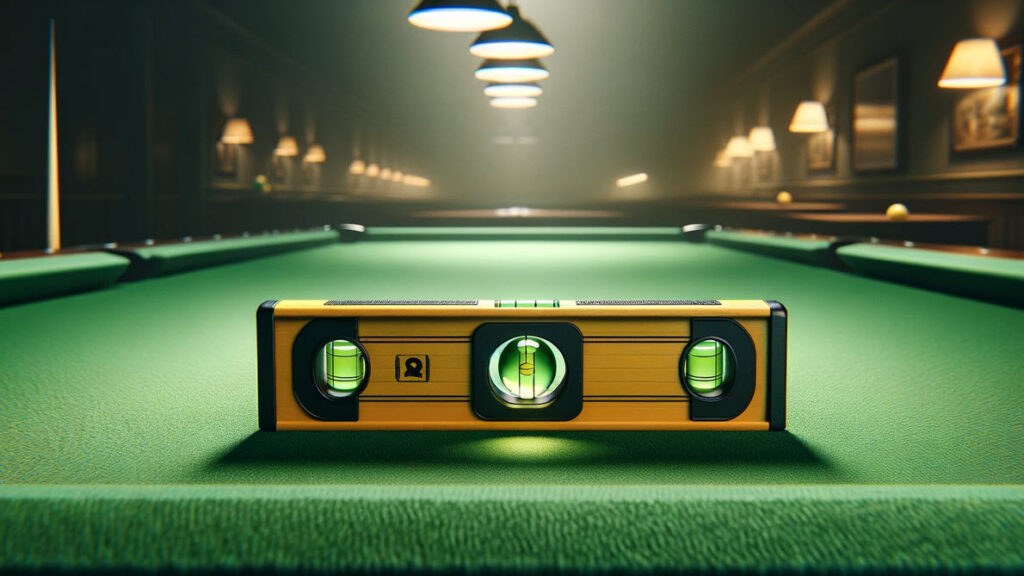
- A carpenter’s level (Preferably 24 inches or longer)
- An adjustable wrench
- Shims (these can be metal or wooden wedges)
- A measuring tape
Step 2: Initial Assessment
Start by checking the current level of your table. Place the carpenter’s level on the surface of the table in the center. Check the bubble; if it’s centered, your table is level in that direction.
Repeat this process by placing the level in different directions (across the length, width, and diagonally).
Step 3: Adjusting the Legs
If your table isn’t level:
- Identify which leg(s) need adjusting.
- Use the adjustable wrench to loosen the nut on the leg leveler. Not all pool tables have leg levelers; in this case, you will use shims.
- Adjust the leveler up or down as needed, then re-tighten the nut.
- If using shims, slide them under the leg where the table is low. You may need to lift the table slightly. (See more)
Step 4: Recheck the Level
After adjusting, place the level back on the table in various positions to ensure it is perfectly horizontal. If it’s not, repeat Step 3 until it is.
Step 5: Fine-Tuning
Sometimes, the table might appear level in one area but not in another. In such cases, fine-tuning is necessary:
- Measure the height of each corner of the table from the floor to ensure they are equal.
- If there are discrepancies, adjust the legs or shims accordingly.
Step 6: Secure and Double-Check
Once you’re satisfied with the leveling:
- Ensure all leg levelers or shims are secure.
- Go over the entire surface again with your level, ensuring every part of the table is level.
Step 7: Maintain Regular Checks
Environmental factors like temperature and humidity can affect your pool table’s level over time. Regular checks and adjustments are necessary to maintain a perfectly level playing field.
How to Level Your Pool Table – Lifting the Table
Lifting a pool table to insert shims under the legs requires a specific approach to ensure safety and avoid damaging the table. Pool tables are heavy and often bulky, making them challenging to handle. Here’s a guide on how to safely lift your pool table:
Safety First
- Get Help: Due to the weight and size of pool tables, it’s essential to have at least one or two helpers. Never attempt to lift a pool table alone.
- Clear the Area: Ensure the space around the pool table is clear of any obstacles to avoid tripping or bumping into things while lifting.
Proper Lifting Technique
- Communicate: Make sure everyone involved understands the plan and their role.
- Bend Your Knees: When lifting, bend at the knees and keep your back straight. This helps prevent back injuries.
- Lift Together: Count down to the lift so everyone does it simultaneously, maintaining balance and control.
Inserting Shims
- Lift One Side at a Time: Gently lift one side of the table just high enough to slide the shims under the leg. It doesn’t need to be raised very high – just enough to insert the shim.
- Place the Shims: While the table is lifted, quickly and carefully place the shims under the leg that needs adjusting. Ensure they are positioned securely and won’t slip.
- Lower the Table Gently: Carefully lower the table back down, making sure the leg sits squarely on the shim.
Additional Tips
- Use the Right Shims: Ensure the shims are made of sturdy material like hard plastic or metal that can support the table’s weight without compressing.
- Check Level: After inserting the shims, use the carpenter’s level to check that the table is level. You might need to adjust the shim’s position or thickness.
Caution
- Avoid Twisting Movements: When lifting, avoid twisting your body. Twisting while lifting heavy objects can lead to injuries.
- Be Aware of Table Structure: Some pool tables might not be designed to withstand lifting from certain points. Be aware of your table’s construction to avoid damage.
Lifting a pool table for leveling is a task that should be approached with caution. Always prioritize safety, use proper lifting techniques, and ensure you have adequate help.
Conclusion
Leveling a pool table might seem like a daunting task, but with the right tools and a bit of patience, it’s certainly achievable.
Remember, a level pool table not only ensures fair play but also helps in improving your game by providing a consistent playing surface.