Once all of the pockets are done, its time to reattach the rails. Using a screwdriver, or pencil, locate the holes from underneath the table, and GENTLY push up on the felt so that you can make a small “X” type cut where the bolts will go through.

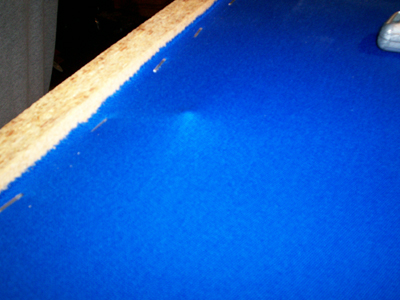
It’s okay, the rails will cover here!

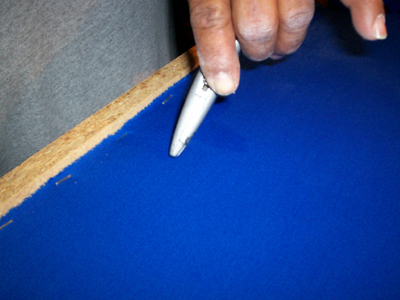
Just a SMALL “X” cut in the felt.

Rail Assembly Diagram

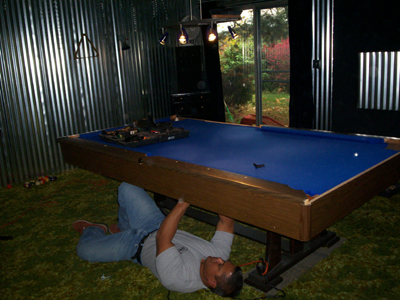
Allen is laying down on the job as he lines up the holes with the rails, and gets the bolts started. Only make them finger tight until you have all of the rails in place…You’ll need to kind of push and pull them a little bit to make sure they are seated, and lined up properly. When you’re happy with their placement, go ahead and tighten them all the way.

NOTE: Felt can come in different thicknesses. (For example, some high-speed felt may be slightly thinner) which can alter the way that the balls will bounce off of the rails, because of the difference in height from the bed of the pool table to the edge of the pool table rail. This can cause the ball to either be pushed down into the bed of the table, and then bounce up, or, if the felt is thinner than the old felt, the edge of the rail could be lower, and cause the ball to hop when it bounces off of the rail. You may need to go back and adjust the height of the pool table rails to correct this potential issue using some shims to experiment with adjustment, if you encounter this problem.

Next, the FINAL STEP… pocket liners >>